

Adding enhanced styling to the Umbraco TinyMCE editor
The humble WYSIWYG is an end user’s main interface to editing content on their website. As websites get more complicated, design gets more complicated, and in turn the slice gets more complicated, the WYSIWYG needs to provide more options for styling content.
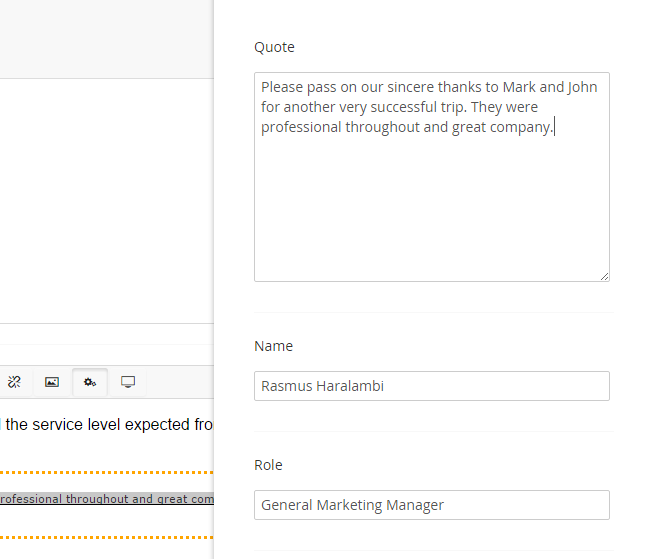
The Umbraco derivative of TinyMCE bolts on support for inserting Macros. These are pre-defined pieces of HTML (in actual fact they are MVC Views) that are inserted into the editor dynamically based on fields defined during development. For example, you can define a Blockquote that has fields for Name, Role and the Quote itself. The Blockquote content appears as uneditable content wrapped in an orange border. It is then up to the View to define the HTML and styling, as well as merge in the entered field data.
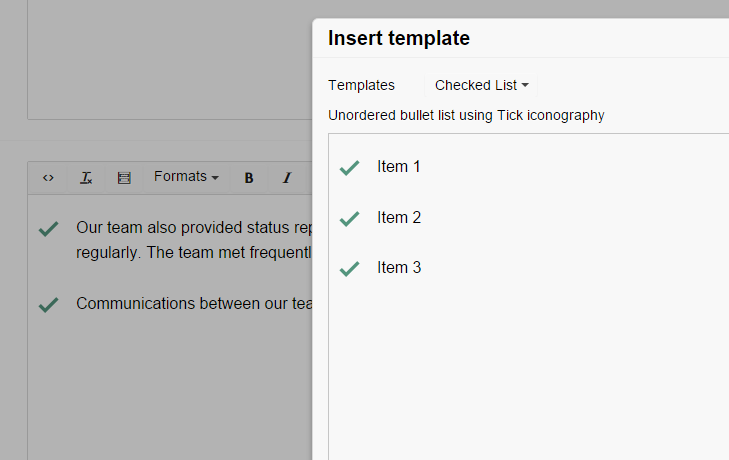
Macros are great for complex areas, but what if you just want to add a bit of extra styling to regular HTML? That’s where Templates come in. Templates let you specify HTML including styling that will be inserted directly into the WYSIWYG as a starting point for continued editing. They are useful for adding CSS classes to tricky tags such as a <ul> that, were you to attempt to apply manually by highlighting the text and selecting a style from the “Formats” dropdown, would actually insert a <span> within the tag you are attempting to style – not on the tag itself.
Templates are not enabled by default, but are supported in Umbraco 7.2x.
- First, locate /config/tinyMceConfig.config and open it for editing.
- Add a new command tag, with a priority order that defines the order the new button will appear on the WYSIWYG:
<command> <umbracoAlias>Templates</umbracoAlias> <icon>images/editor/template.gif</icon> <tinyMceCommand value="" userInterface="true" frontendCommand="template">template</tinyMceCommand> <priority>19</priority> </command> - Add a reference to the plugin in the <plugins> section:
<plugin loadOnFrontend="true">template</plugin>
- And in the <customConfig> section add this line:
<config key="templates">/App_Plugins/TinyMceTemplates/templates-config.html</config>
- As you can see from the config key, we now need to create a HTML file in /App_Plugins/TinyMceTemplates. This is to contain the list of templates for the WYSIWYG to offer. Add an array like so:
[ {"title": "Checked List", "description": "Unordered bullet list using Tick iconography", "url": "/App_Plugins/TinyMceTemplates/template-checkedList.html" } ] - And as you can see from the array items above, each item in the array specifies its own template. Create this file and add the following HTML:
<ul class="tick-list-1"> <li>Item 1</li> <li>Item 2</li> <li>Item 3</li> </ul> - This assumes that your website already defines the styles for class “tick-list-1”. To complete the addition, ensure that the styles for this class are replicated into the stylesheet referenced by the WYSIWYG Data Type in Umbraco. If it doesn’t reference any style sheet, create one.
And that’s it. You can now insert pre-defined snippets of HTML that will provide styling not otherwise possible to apply in the editor (unless of course you switch to Edit HTML Source mode).