


Export Excel Spreadsheet data to XML
Sometimes during the final days of a website build, you may receive data from a client that you need to import or otherwise utilise in the new website. I’ve found that, more often than not, a developer will receive a Microsoft Excel Spreadsheet that has come from some foreign database that needs to be imported or processed. That’s easy enough in MS SQL; just load the spreadsheet as a data source and map the spreadsheet columns to your table columns. There’s always warnings about data truncation and the like, but once you solve these you have successfully imported data into the new database.
But what if you wanted a lighter-weight data source for your website, such as XML? It turns out that Excel has XML export and data mapping built in and is very easy to use:
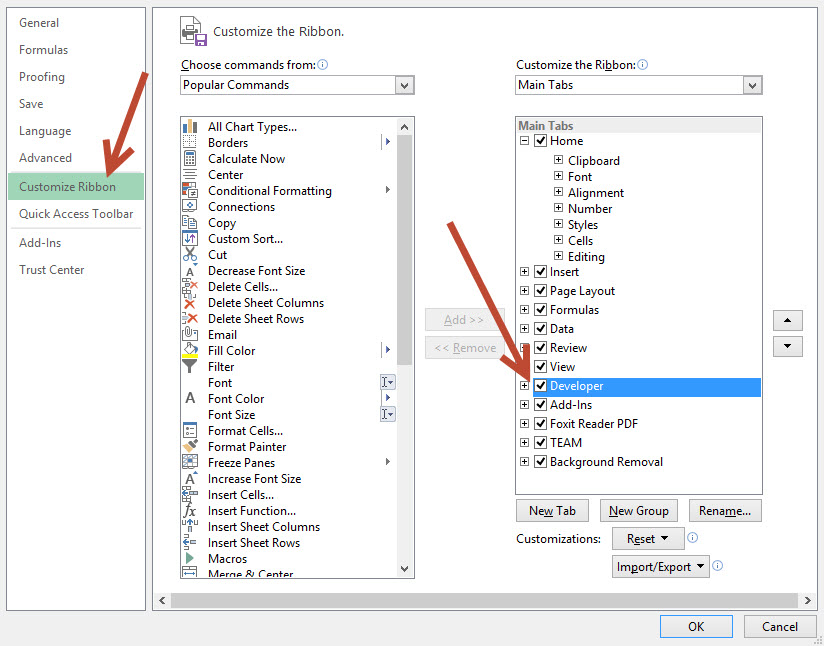
- Firstly, turn on Excel’s Developer tab. This is where you will find the XML mapping and export functions.
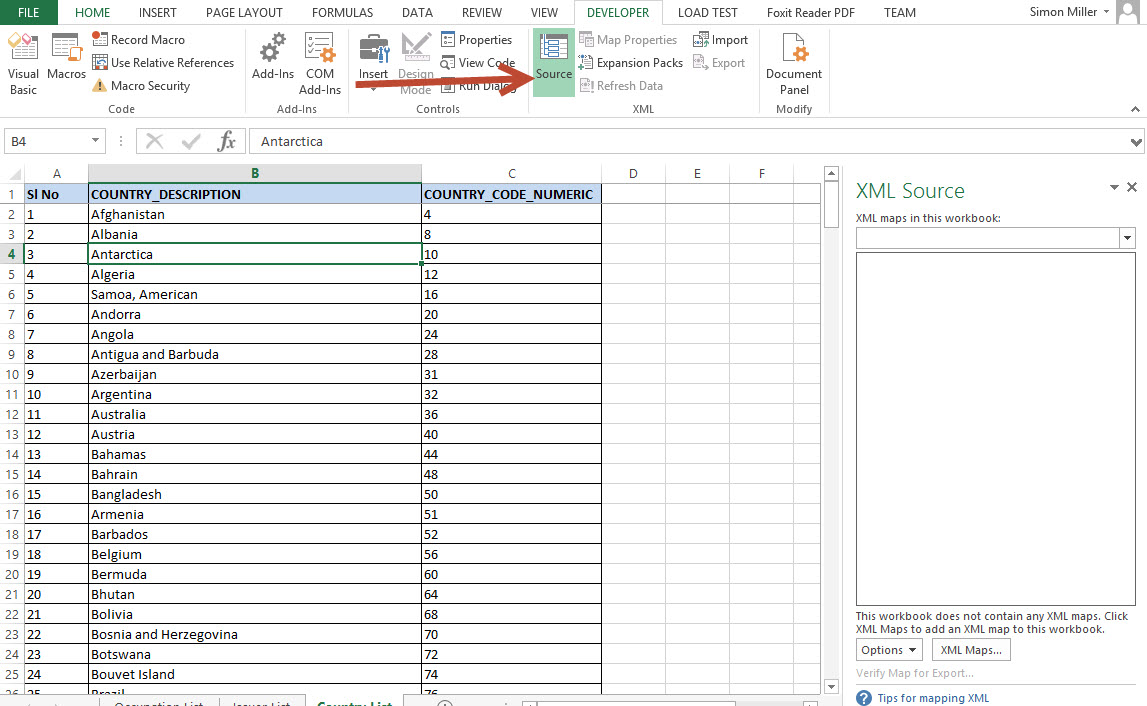
- Load the spreadsheet containing your data into Excel. We are creating an XML of Countries, and our example spreadsheet has two columns – COUNTRY_DESCRIPTION and COUNTRY_CODE_NUMERIC.
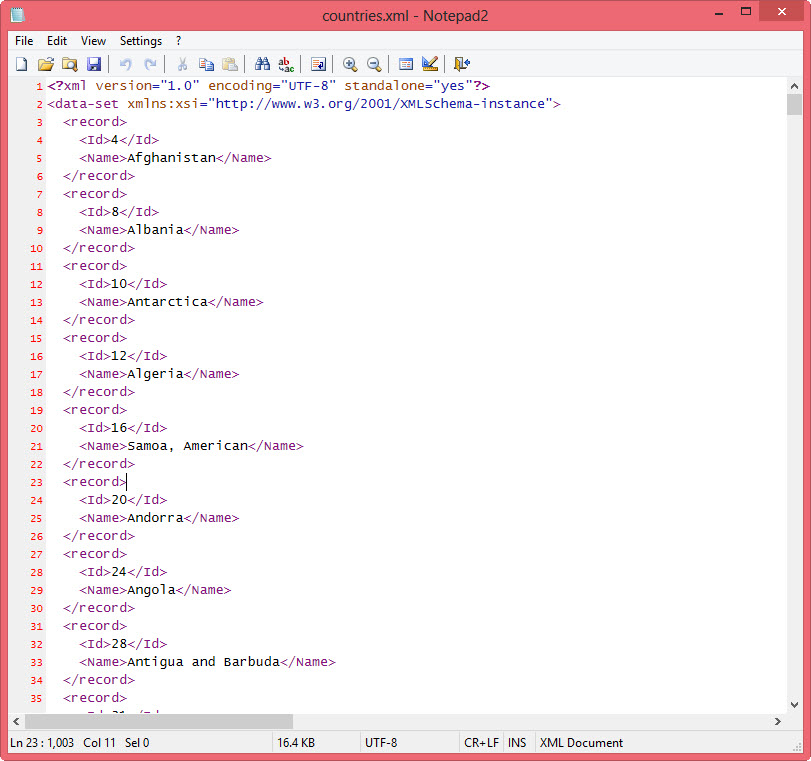
- Open Notepad and create a simple XML schema that replicates the first two rows of data from the spreadsheet. Note that the tags do not have to be the same as the spreadsheet column titles. Save this as schema.xml.
<?xml version="1.0" encoding="UTF-8" standalone="yes"?>
<data-set xmlns:xsi="http://www.w3.org/2001/XMLSchema-instance">
    <record>
       <Id>4</Id>
       <Name>Afghanistan</Name>
    </record>
    <record>
       <Id>8</Id>
       <Name>Albania</Name>
    </record>
</data-set>
- With the spreadsheet open, click the SOURCE button in your new Developer tab, then click XML Maps. Select your newly saved schema.xml.
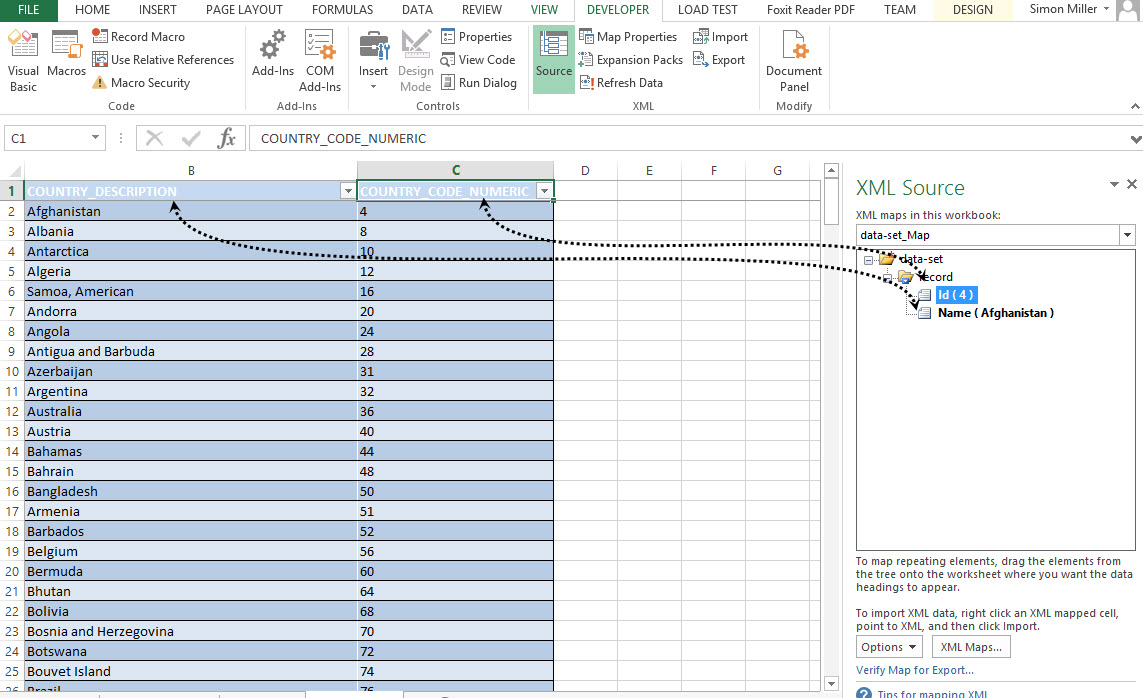
- From the XML Source pane, drag the elements to the column heading that it maps to. As each column is mapped it will be highlighted.
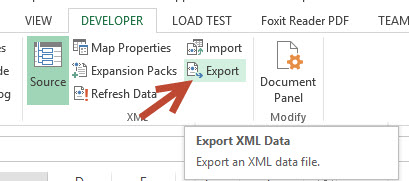
- Finally, export the spreadsheet to a new XML file.
- The resultant file should match your input schema.
Done!
This is a very clean approach that saves a lot of time in manual data processing.
Note: in my case, I found that the spreadsheet data was padded with trailing non-breaking spaces for some reason. I removed these by creating a third column and applying the formula:
=TRIM(CLEAN(SUBSTITUTE(A1,CHAR(160)," "))).
The resultant cleansed data was then pasted over the top of the original column.

